

What else do I need? I am confused but very impressed by the young man in the video. I'll get the ZIGflea later.
Ken


What else do I need? I am confused but very impressed by the young man in the video. I'll get the ZIGflea later.
Ken

Yes, me too!Originally Posted by Kenjones1935

That should be all you need. However, this one does not come with StickOS installed. But you can use your PicKit2 to install StickOS firmware into it. And, by doing that, you will get the latest 1.80 version. You will need to download a windows driver from this page CPUStick.inf : http://www.cpustick.com/downloads.htm
But with that, and hyper terminal, you can start writing some code. Oh, and you won't get a manual either, so you will have to print one.
Walter
http://www.scalerobotics.com

Hi Ken. I do not see why you should leave PBP and start another similar language and your project all over again.
If you do need RF communication between nodes maybe a Zigbee modules or RF transceivers can give you a good solution without almost a line of code.
Look at Digi modules (Zigbee or not, does not matter) for out of he box communication. Other brands also exist, many I can say.
Ioannis
I wouldn't normally suggest it, as PBP can do just about anything. But here is why I think it might be a good idea in this case.
Configs are confusing for adults, I would hate to frustrate middle school students. This would keep them from having to worry about those.
PBP kind of expects you to read and understand the data sheet. StickOS would just require them to get read the device pinout. They could just start with the data sheets for their sensors, and not be overwhelmed by a 200 to 500 page data sheet.
They would not have to worry about setting ADCONx, trisx, cmconx etc...
With StickOS, they can just say:
Now here is some PBP code that does a similar function:Code:10 dim pot as pin an5 for analog input 20 print "potentiometer= ",pot
And pretty high up there in my opinion is the cost. I know the school my son goes to has trouble buying pencils and paper. They would pretty much need everything donated to be able to do it. I think Ken said the cars were $80, this CpuStick is about $40. The PBP software is $250. So the cost per unit is $120 with StickOS vs $370 for PBP. That's over three times the cost. So, for the same cost of having 30 students share 10 PBP units (one kid does the work, while the other two watch), they could have one for each kid in the class.Code:Define ADC_BITS 10 ' Set number of bits in result Define ADC_CLOCK 3 ' Set clock source (3=rc) Define ADC_SAMPLEUS 50 ' Set sampling time in uS adval Var Word ' Create adval to store result TRISA = %11111111 ' Set PORTA to all input ADCON1 = %10000010 ' Set PORTA analog and right justify result mainloop: ADCIN 0, adval ' Read channel 0 to adval serout2 PORTC.6,396,["Value: ",DEC adval,13,10] ' Display value Pause 100 ' Wait .1 second Goto mainloop ' Do it forever End
http://www.scalerobotics.com
There is already an educational oriented company, www.Ten80Education.com, which uses model level 1/10 scale radio control cars. They focus on automobile related engineering, toe-in, tire friction, gearing, power usage, damping, suspension. The car they use, the HPI Sprint, costs about $200 retail. Coincidentally I chose this same car for my project. I hope to integrate my PIC car into their curriculum.
It is the add on cost for my project that must be controlled. The sonars cost $28 each. It is really too bad that the PBP cost is just for a one PC license.
Big question?? What kind of games could our robocars play if they could talk to each other over zigFLEA?
Ken
I use the model level car because its steering and wheel drive is based on proportional PWM signaling. This I need for the wall following (at speed) trick.
The much cheaper ~ $50 ~ 1/10 scale toy level car has bang-bang steering that motor control. If that is all we need for the learning game, then the total cost comes way down. These cars are FAST.
Ken
Yeah, but with very little control on the steering. Like you described it as bang bang (to the walls)...
The fuse settings, or settings in general may be solved by an include file made by Ken and students all have to do is just ... include it.
So they are left with the main body of the software. Which comparing to stickOS is a little more difficult. But you have interrupts and much faster execution time...
About the cost, well, OK. 250 is much money, but good things cost...
Ioannis
Yes, ignore the warning. That is a default if Windows doesn't know what the file is.
http://www.scalerobotics.com
Now you can start to write some simple programs. They show some examples in the manual. You will need to look through the Quick Reference guide here: http://www.cpustick.com/downloads/quickref.v1.80.pdf for all the commands.
Some of the interesting ones are:
help
help pins
And you can set the heartbeat LED (if it is not blinking already) by:
pins heartbeat RA1
(You will have to look on the board to see which port goes to the LED you want to set as heartbeat, RA1 is PORTA.1 and works on my Explorer 16 board).
This prints out an analog result to the terminal:
You would probably be interested in the Servo example on page 30:Code:10 dim pot as pin an5 for analog input 20 print "potentiometer= ",pot
Note that you will have to change the servo out pin to one your hardware has. To see the available ones, use the "help pins" command. It will show you at the bottom which pins are available for the servo command. In my case, I changed dtin1 to rd1.Code:> new > servo 45 > 10 dim servo as pin dtin1 for servo output > 20 for servo = 50 to 250 step 10 > 30 sleep 50 ms > 40 next > run
http://www.scalerobotics.com
scalerobotics,
My focus is changing from teaching STEM to middle school kids to teaching the teachers about teaching STEM to public school kids.
Documenting our conversations over the last months might give me some insight on the process. Is there a way to capture this thread as a .doc or a .pdf file?
Ken
Once a routine is made, a lot of it can be forgotten (thankfully). I don't see any good ways to do this, but here is one way. It will only get you 40 posts at a time though. I have looked for a way to change this setting, and it looks like it is not settable, at least by me.
If you goto thread tools, and click on show printable version, you get something of a better format. Then you can go to file, and save as, and save it as html. While you are on this printable version, you can then select the next page of posts, and select save as, then call it page2 or something. This isn't ideal, but it's the best I can come up with.
http://www.scalerobotics.com
Hi,
I just stumbled onto this thread...
I'd like to also point out you don't actually need a PicKit2 to program the UBW32, since it comes with the Microchip HID bootloader installed -- you can just download StickOS to the board using the procedure here: http://www.schmalzhaus.com/UBW32/doc...mentation.html
Be sure to use the proper version of StickOS for the UBW32: http://www.cpustick.com/downloads/St...v1.80c.elf.hex
I'm definitely game to help folks get this into a classroom setting -- let me know if I can help. (Just drop me an e-mail; unfortunately I'll be out of town for a week starting tomorrow morning.)
One small comment on an earlier post -- if you are using pins rd0-rd4 on the PIC32 and configuring them for PWM/servo mode, then they are controlled in hardware without CPU assistance -- so the BASIC program can do any other things while they are generating pulses, without affecting the pulses.
-- Rich
[email protected]
For reasons to messy to explain I am trying to get a robocar to run on a blank 32MX460F512L. I was hoping to use Microchip's C compiler pic32-gcc.exe. I am having a very difficult time getting started. Do you know of a beginners example that will take me though step by step?
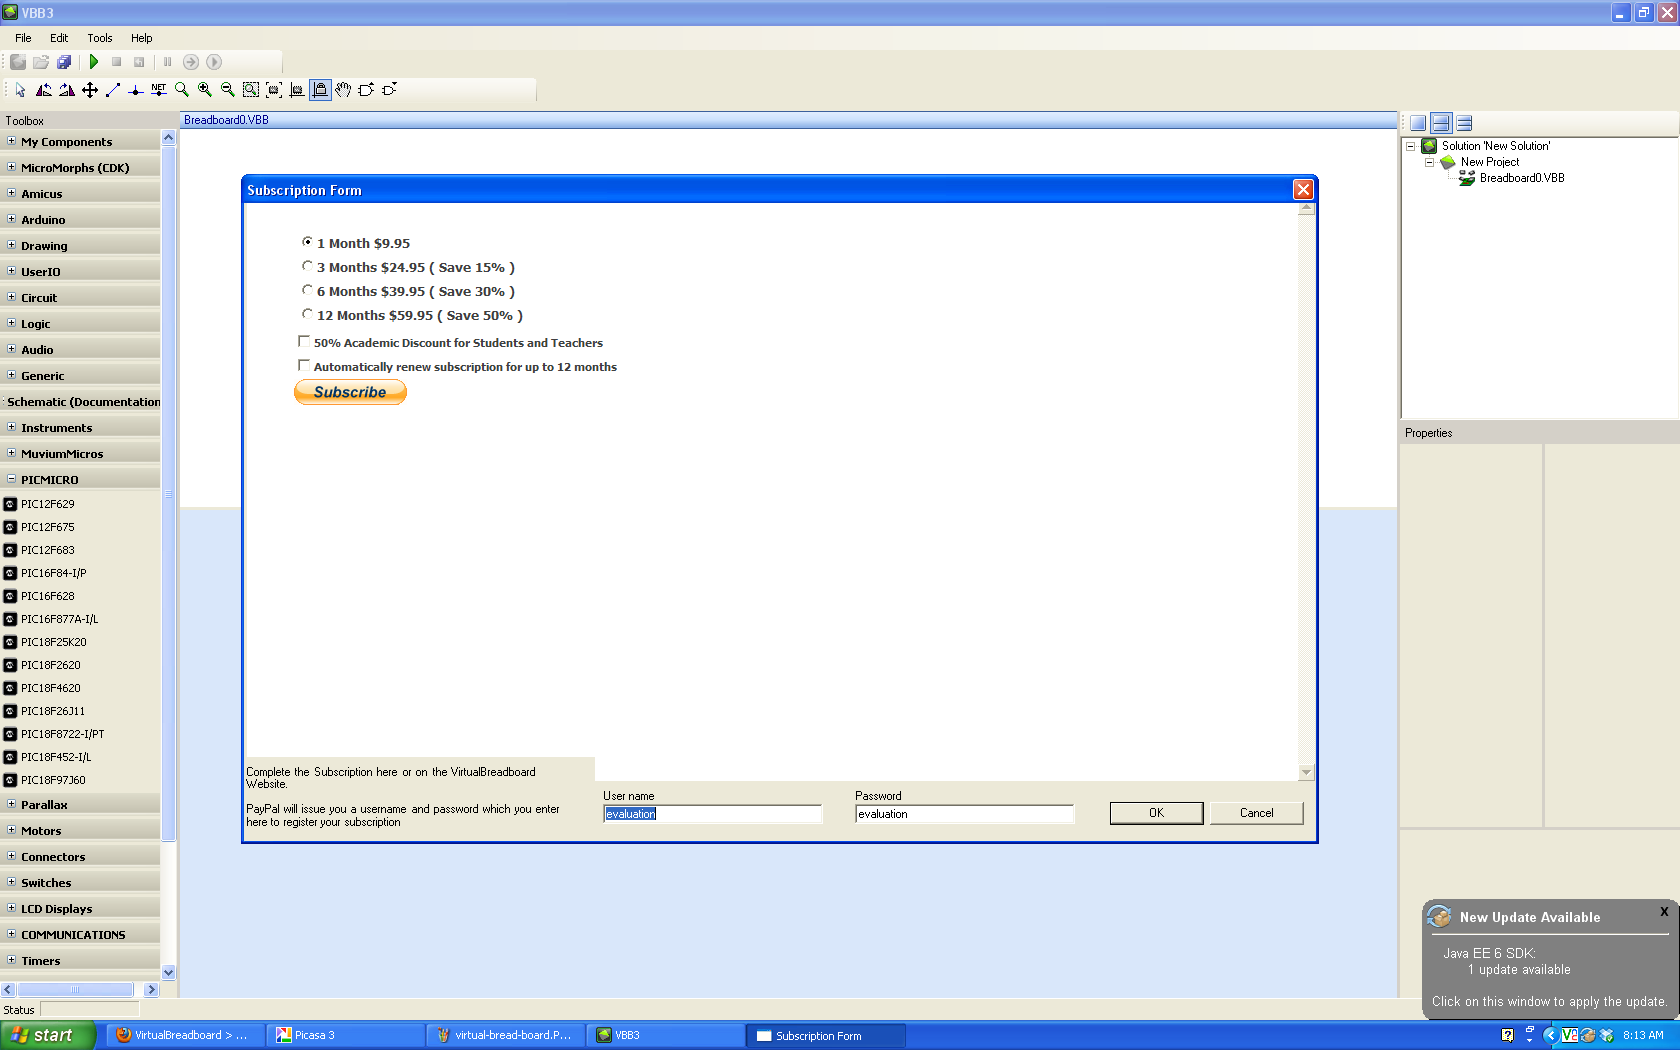
Oops, I guess it is not free anymore. Or at least, only free for 10 days. Looks like it is 9.95 for one month, or 59.95 for a year. They have added a few features since I last looked. Here is a shot from their logic probe demo:
And I guess there are 9 chips it supports from Microchip:
Last edited by ScaleRobotics; - 17th April 2011 at 16:34. Reason: embed pictures help?
Folks from MIT's Lincoln Laboratory have taken an interest in my robocars for kids. LL has an Education Outreach program which schedules workshops each summer. If you like go to
http://roboworksmay22.eventbrite.com/
Note the sentence:
Let me THANK YOU ALL for all for two year's of support. LL seems Arduino oriented.Follow-on workshops are planned for the summer where kids will learn to program general purpose processors to control sensors for an autonomous robotic NASCAR.I don't know why, but they have the resources and the prestige to take this to the next step.
I'll keep you informed if I can.
Ken
Hi Ken,
Sounds like things are finally rolling for you.
You may want to look at this section
http://www.picbasic.co.uk/forum/cont...r=346-amicus18
It is a hardware replacement for the ardrino that uses PICs and PBP.
Dave
Always wear safety glasses while programming.
VBB is tri-lingual. It can do Arduino, Amicus, and 7 flavors of Microchip. I have not looked at it for a few months, but for free, it looked pretty cool. But, the closest thing to an 887 that it has is an 877.
Walter
Not a problem Ken, this is definitely the hardest part. And the manual doesn't really pull it all together for me either. Once you have a connection, you almost don't have to worry about those parts again though.
Here is the hex file you need. I have it in a zip file attached. It also has the driver you need. You must install the driver into your computer. Right click the driver, and select install. Then hopefully when you plug the USB cord from the UBW to the computer, you hopefully will see something happen.
We will get it going, or die trying. Hopefully the former.
Last edited by ScaleRobotics; - 14th October 2010 at 05:08.
http://www.scalerobotics.com
Thank you scalerobotics!
The .hex file you sent compares exactly to the one I used. At least each displayed using 'notepad' are identical. The .inf file you sent enticed WINDOWS XP PRO into displaying a GUI warning me against installing it as it had not passed the WINDOWS LOGO test! Do you think I should ignore the warning?
Ken
scalerobotics:
I was hoping I would find in my MicroCode Studio Target Processor pull down menu a reference to the PIC32 that we are using. Nope! Do they sell an appropriate BASIC compiler?
Ken
No, they do not. I think you are limited to C, assembly, or StickOS with the 32 bit devices. I thought you were going to try StickOS though? If so, you really don't need to learn too much about the chip. StickOS does most of background stuff for you.
http://www.scalerobotics.com
AFAIK, no one makes a BASIC compiler for the PIC32 (or any other 32-bit MCU for that matter). Your best bet is to go with C which is pretty the de-facto language (not a lot more difficult to learn/use but far more powerful/flexible/reliable).
In my opinion, C would be a lot harder for the middle school students to learn. C isn't very readable if you ask me.
For one you have to teach them
{why all the
}
{darn brackets
}
{are all over the place}
Then why the main code is void, but works.
I think StickOS is a bit easier for them for their first intro to micro controllers. But that may be because I don't understand why the brackets are all over the place.
http://www.scalerobotics.com
The .hex file does not load. It says that MAXIMUM must be greater than or equal to zero. In fact it is -7xx or so. Here's the error printout.
************** Exception Text **************
System.ArgumentOutOfRangeException: Value of '-749' is not valid for 'Maximum'. 'Maximum' must be greater than or equal to 0.
Parameter name: Maximum
at System.Windows.Forms.ProgressBar.set_Maximum(Int32 value)
at PICkit2V2.FormPICkit2.ResetStatusBar(Int32 maxValue)
at PICkit2V2.PIC32MXFunctions.P32Write(Boolean verifyWrite, Boolean codeProtect)
at PICkit2V2.FormPICkit2.deviceWrite()
at PICkit2V2.FormPICkit2.writeDevice(Object sender, EventArgs e)
at System.Windows.Forms.Control.OnClick(EventArgs e)
at System.Windows.Forms.Button.OnClick(EventArgs e)
at System.Windows.Forms.Button.OnMouseUp(MouseEventAr gs mevent)
at System.Windows.Forms.Control.WmMouseUp(Message& m, MouseButtons button, Int32 clicks)
at System.Windows.Forms.Control.WndProc(Message& m)
at System.Windows.Forms.ButtonBase.WndProc(Message& m)
at System.Windows.Forms.Button.WndProc(Message& m)
at System.Windows.Forms.Control.ControlNativeWindow.O nMessage(Message& m)
at System.Windows.Forms.Control.ControlNativeWindow.W ndProc(Message& m)
at System.Windows.Forms.NativeWindow.Callback(IntPtr hWnd, Int32 msg, IntPtr wparam, IntPtr lparam)
 Members who have read this thread : 2
You do not have permission to view the list of names.
 Posting Permissions


Bookmarks